Ever feel stuck in a makeup rut? It’s time to change that. Whether you’re a makeup newbie or a seasoned pro, these simple tips will freshen your look and boost your confidence. Imagine walking into a room and turning heads—not because of the makeup itself, but because of the way it makes you feel. Discover easy-to-follow techniques that make a big impact. You’ll find that a little effort can go a long way in helping you look and feel your best. Get ready to transform your everyday routine into something special. Keep reading to learn how to elevate your look with ease.
Preparing Your Skin
A fresh face starts with great skin. Before diving into your makeup routine, it’s essential to prepare your skin to ensure your makeup lasts longer and looks flawless. Think of your skin as the canvas for a masterpiece; the better the canvas, the more stunning the art. Here’s how to get your skin prepped and primed perfectly.
Cleansing and Exfoliating
 Photo by Monstera Production
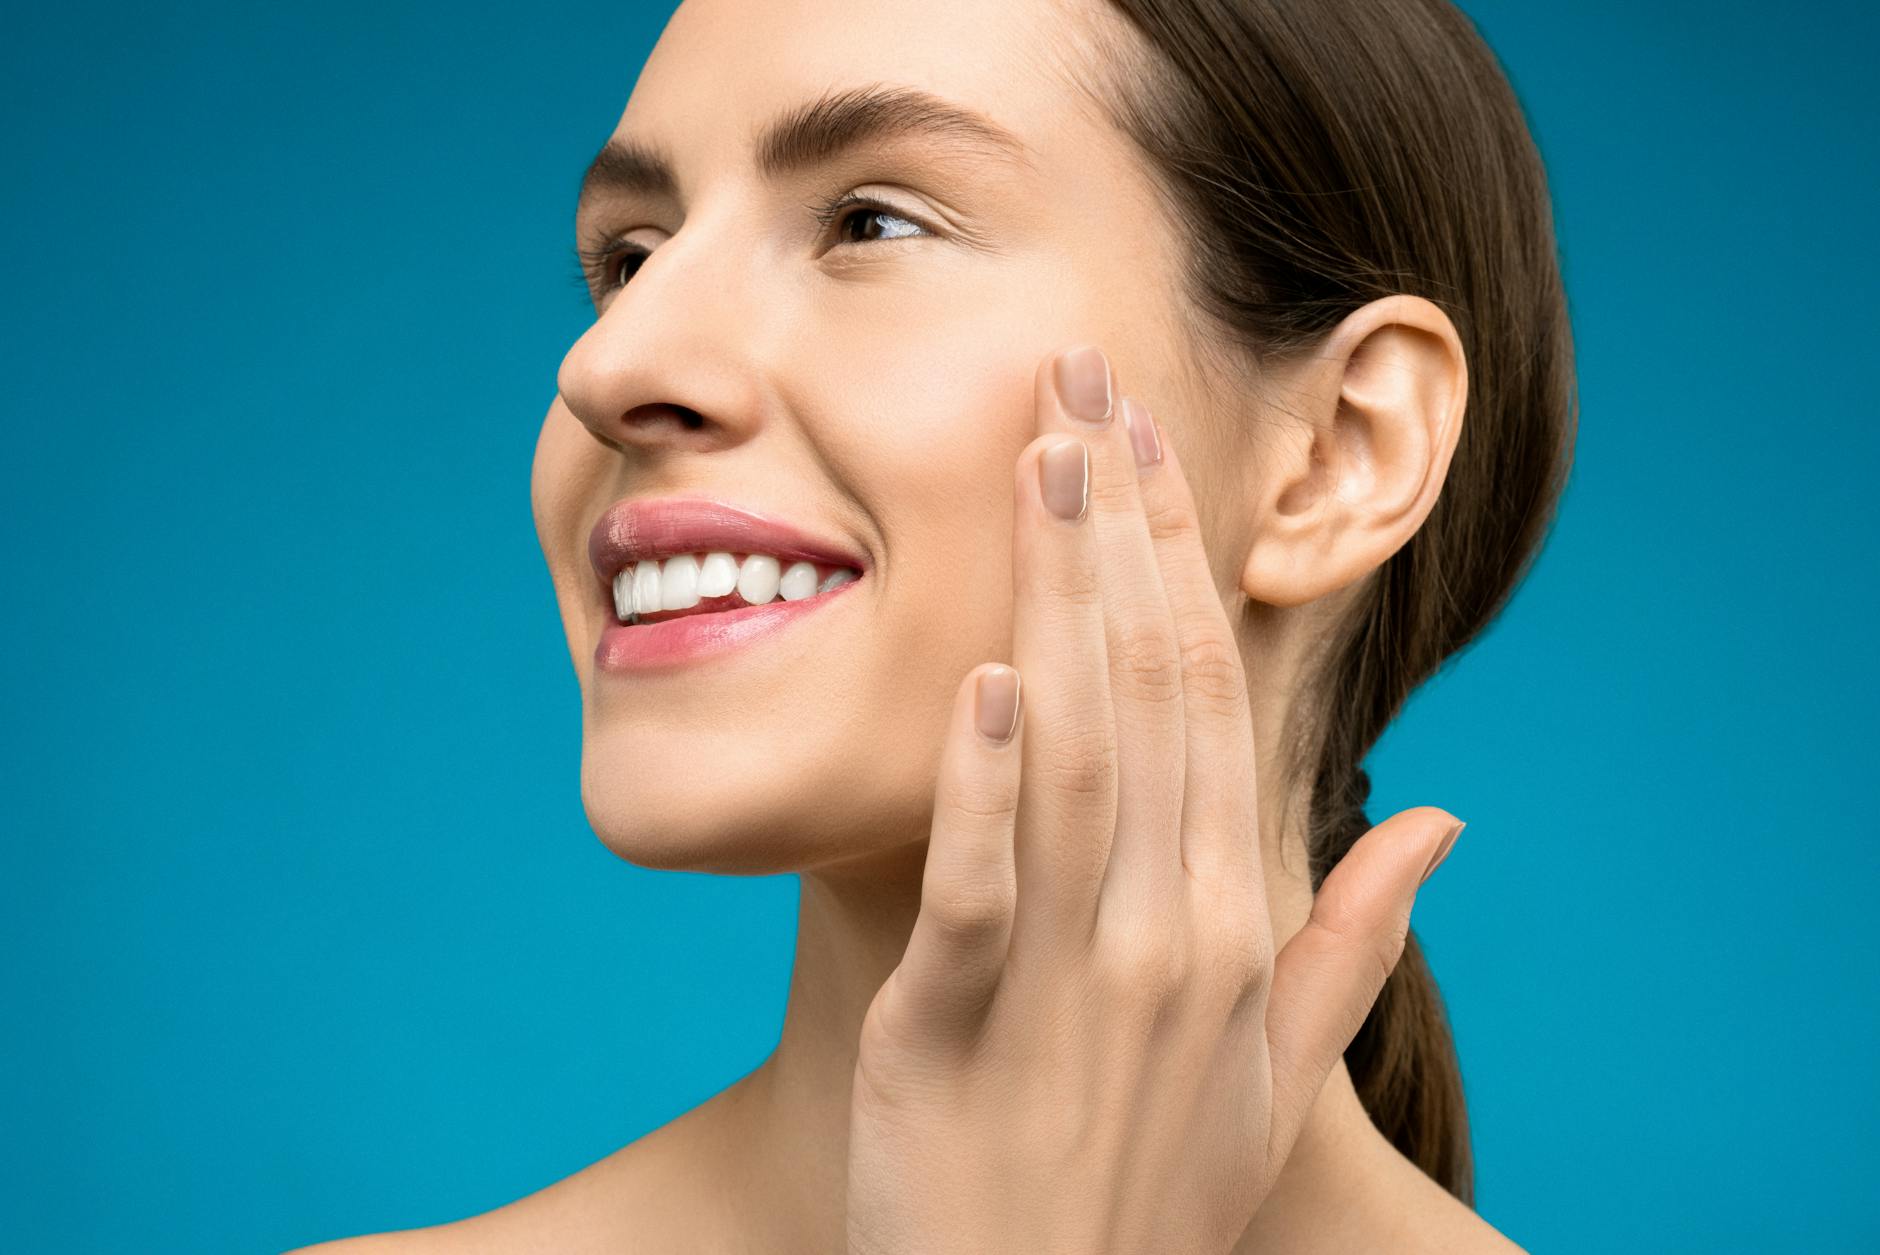
Clean, well-exfoliated skin is the foundation of any makeup routine. Start by washing your face with a gentle cleanser to remove dirt, oil, and any leftover makeup. Look for a cleanser that suits your skin type—whether it’s oily, dry, or sensitive.
Next up is exfoliating. Exfoliation removes dead skin cells that can make your complexion look dull. Aim to exfoliate at least twice a week, but keep it gentle. Over-exfoliating can irritate your skin and cause redness.
Steps for Proper Cleansing and Exfoliating:
- Wet your face with lukewarm water.
- Apply a small amount of cleanser to your fingertips.
- Massage the cleanser into your skin in circular motions, focusing on areas like the forehead, nose, and chin.
- Rinse thoroughly and pat your face dry with a clean towel.
- For exfoliating, use a gentle scrub or exfoliating brush.
- Lightly massage the exfoliant into your skin, avoiding the eye area.
- Rinse off and pat your face dry again.
By keeping your skin clean and exfoliated, you create a smooth surface that helps makeup adhere better.
Moisturizing and Priming
After cleansing and exfoliating, it’s time to hydrate and prime your skin. Moisturizing keeps your skin healthy and glowy, while primer sets the stage for long-lasting makeup.
Benefits of Moisturizing and Using Primer:
- Hydration: Moisturizer helps to lock in moisture, ensuring your skin stays supple and soft. Even if you have oily skin, don’t skip this step. Look for a lightweight, non-greasy formula.
- Smoother Application: A good primer smooths out your skin’s texture, making it easier to apply foundation and other makeup products. It fills in fine lines and pores, creating an even base.
- Increased Longevity: Primer helps your makeup last throughout the day by keeping it in place. No more worrying about your foundation melting away by lunchtime.
- Enhanced Skin Tone: Some primers come with color-correcting properties to help even out your skin tone. If you have redness or discoloration, these primers can work wonders.
Steps for Moisturizing and Priming:
- Apply a small amount of moisturizer to your face using upward strokes. Give it a few minutes to absorb before moving to the next step.
- Squeeze a pea-sized amount of primer onto your fingertips.
- Dab the primer on areas where your makeup tends to wear off first, like the forehead, nose, and chin.
- Smooth it out evenly all over your face and let it set for a minute.
With these steps, your skin will be ready to take on any makeup look you desire. A good skincare routine not only prepares your skin for makeup but also ensures that your skin stays healthy and radiant.
Perfecting Your Base
Getting that flawless, airbrushed look starts with a strong foundation. Whether you’re going for a natural glow or a full-glam face, nailing your base is crucial. Let’s break down the steps to achieve a perfect makeup base.
Choosing the Right Foundation
 Photo by Erik Mclean
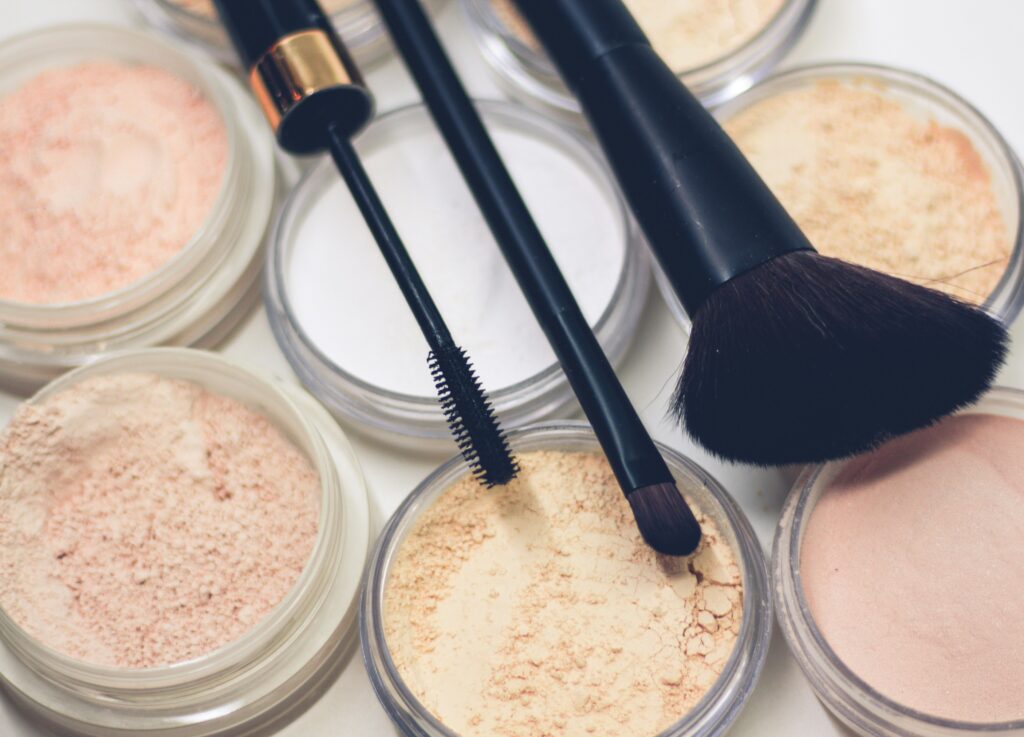
Foundations come in many forms—liquid, powder, stick, and cream. Each has its own benefits, so it’s important to choose the right one for your skin type.
- Liquid Foundation: Great for all skin types, especially dry or combination skin. It provides a smooth, buildable coverage.
- Powder Foundation: Ideal for oily skin. It helps to control shine and is easy to apply on-the-go.
- Stick Foundation: Convenient for touch-ups and offers full coverage. Perfect for normal to dry skin.
- Cream Foundation: Delivers a dewy finish, good for dry or mature skin.
When picking a shade, test it on your jawline in natural light. The right shade should disappear into your skin. Don’t forget to consider your undertone—are you cool, warm, or neutral?
Applying Concealer
Concealer is your secret weapon for a flawless face. Here’s how to use it effectively:
- Under the Eyes: Apply concealer in an inverted triangle shape under your eyes. This brightens the area and covers dark circles. Use a shade slightly lighter than your foundation.
- On Blemishes: Dab a small amount directly on any blemishes or spots. Use a concealer that matches your skin tone exactly for this.
- Highlighting: Use concealer to highlight areas like the center of your forehead, down the bridge of your nose, and your chin.
Blend it out with a beauty sponge or your fingertips for a seamless look.
Setting Your Makeup
After laying down your base, setting it is the key to making sure your makeup lasts all day without creasing or melting away.
- Setting Powder: Use a translucent setting powder to lock everything in place. Lightly dust it over your face, focusing on areas prone to oiliness like the T-zone (forehead, nose, and chin). For a smoother finish, use a damp makeup sponge to press the powder into your skin.
- Setting Spray: For a more natural and dewy finish, setting spray is your go-to. Hold the bottle about 8-10 inches from your face and mist lightly. This helps to melt the makeup into your skin for a flawless finish, while also adding an extra layer of longevity.
By mastering these base techniques, you’ll have a perfect canvas ready for the rest of your makeup.
Enhancing Your Eyes
Eyes are often considered the windows to the soul, and by enhancing them, you can transform your entire look. Here are some straightforward yet effective techniques for making your eyes pop.
Eyeshadow Application
Choosing and applying eyeshadow can make a huge difference in how your eyes stand out. The key is to find colors that complement your eye color and shape.
 Photo by Luan Rezende
How to Choose Eyeshadow Colors:
- For Blue Eyes: Shades like bronze, copper, and warm tones make blue eyes look stunning.
- For Brown Eyes: Earthy tones, golds, and greens highlight brown eyes beautifully.
- For Green Eyes: Purples, deep reds, and rich emerald shades enhance green eyes.
Application Tips:
- Start with a Primer: Apply a thin layer of eyeshadow primer to your eyelids. This ensures the shadow stays put and looks vibrant all day.
- Use Transition Shades: Apply a neutral, mid-tone shade to the crease of your eyelid. This helps blend other colors seamlessly.
- Build Depth: Use a darker shade at the outer corners of your eyes and blend it into the crease. This adds depth and dimension.
- Highlight: Apply a light, shimmery shade to the inner corners of your eyes and beneath the brow bone. It opens up the eyes and gives a fresh look.
Mastering Eyeliner
Eyeliner can transform your eye shape and make your lashes look fuller. Different techniques offer various effects, from natural to dramatic.
Common Eyeliner Techniques:
- Tightlining: Apply eyeliner to the upper waterline (the area right below your lashes). This makes your lashes look fuller without obvious liner.
- Winged Eyeliner: Start at the outer corner of your eye and draw a small line upwards. Connect that line back to your lash line and fill in any gaps.
- Smudging: For a smoky look, apply eyeliner along your lash line and then use a smudging brush or cotton swab to gently blur the edges.
Each technique can transform your eyes differently, making them appear larger, more defined, or more dramatic.
Adding Drama with Mascara
Mascara is a magical tool that can instantly make your eyes look bigger and more awake. Here’s how to apply it for maximum volume and length.
Mascara Application Tips:
- Start with a Lash Curler: Gently curl your lashes to lift them up. This makes your eyes look bigger and more open.
- Wiggle the Wand: When applying mascara, wiggle the wand at the base of your lashes. This ensures each lash is coated from root to tip.
- Layer Up: Apply one coat of mascara, let it dry for a few seconds, then apply another. Repeat this until you reach the desired volume.
- Focus on the Tips: For added length, focus on applying extra mascara to the tips of your lashes.
By following these steps, you’ll have bold, beautiful lashes that really make your eyes stand out.
Engaging in these simple yet effective eye makeup techniques will help you enhance your natural beauty. From carefully selected eyeshadow shades to perfectly applied mascara, your eyes will have that captivating sparkle you’re aiming for.
Defining Your Brows
Your eyebrows are more than just hair on your face—they frame your eyes and bring balance to your features. When well-defined, they can completely transform your look. First, let’s understand how to shape them based on your face shape, and then we’ll cover how to fill in sparse areas for that perfect finish.
Shaping Your Brows
Your face shape is key when deciding how to shape your brows. Let’s break it down by different face shapes:
- Round Face: Aim for a high, sharp arch to give the illusion of a longer face. Avoid rounded shapes, which can make your face appear rounder.
- Oval Face: A soft, angled brow works best. This shape complements the natural symmetry of an oval face.
- Square Face: Bold brows with a strong arch balance the angles of a square face. Avoid thin brows which can get lost against strong features.
- Heart-Shaped Face: Keep your brows soft and rounded to balance a wider forehead and a narrower chin.
- Long Face: Flat, horizontal brows help to shorten the appearance of a long face. Avoid high arches.
Steps to Shape Your Brows:
- Identify the Start Point: Hold a brow pencil vertically along the side of your nose to determine where your brow should start.
- Find the Arch: Angle the pencil from your nose to the outer edge of your iris to locate your natural arch.
- Mark the End: Angle the pencil from your nose to the outer corner of your eye to see where your brow should end.
- Pluck Stray Hairs: Use tweezers to remove any hairs outside your desired shape. Be cautious and take your time to avoid over-plucking.
Filling in Sparse Areas
Filling in sparse areas of your brows can make them look fuller and more defined. You can use pencils, powders, or gels depending on your preference and desired look.
Techniques for Filling in Brows:
- Using Pencils:
- Choose the Right Shade: Match the pencil color to your natural brow color or go a shade lighter for a more natural look.
- Light, Hair-Like Strokes: Use the pencil to draw short, feathery strokes that mimic your natural hairs. Focus on sparse areas and be sure to blend with a spoolie brush.
- Using Powders:
- Pick a Brow Powder: Choose a powder that matches your brow color.
- Apply with an Angled Brush: Dip the brush in the powder and tap off the excess. Apply it with light strokes, working from the inner brow towards the outer end.
- Using Gels:
- Tinted Brow Gel: These gels add color and set your brows in place. Brush the gel through your brows in upward strokes.
- Clear Brow Gel: If you prefer a subtle look, clear gel can hold your brows in place without adding color.
Steps to Fill in Your Brows:
- Brush Your Brows: Start by brushing your eyebrows upward with a spoolie brush. This helps you see the natural shape and identify sparse areas.
- Outline Your Brow Shape: Lightly outline the bottom and top edges of your brows with your chosen product.
- Fill in the Sparse Areas: Use short, hair-like strokes to fill in any gaps. Focus on creating a natural look.
- Blend: Use a spoolie to blend the product into your natural brow hairs, ensuring a seamless finish.
Well-groomed and filled-in brows can enhance your entire face. As the saying goes, “Brows frame the face,” and by following these simple steps, you’ll have perfectly shaped and filled-in brows that look naturally beautiful.
Adding Color to Your Cheeks
If you’re looking to bring some life and color to your complexion, focusing on your cheeks is a great place to start. The right blush and bronzer can add dimension, warmth, and a healthy glow to your face. Let’s explore how to choose the best products and apply them to enhance your natural beauty.
Choosing the Right Blush
 Photo by Shiny Diamond
Selecting the right blush color is crucial to make sure it complements your skin tone. A good blush should blend seamlessly with your complexion and add a natural flush. Here’s how to find your perfect match:
- Fair Skin: Opt for soft pinks, peaches, and light corals. These shades add a subtle pop of color without overwhelming your fair complexion.
- Medium Skin: Richer pinks, warm apricots, and rosy tones work best. These colors enhance your natural warmth and brighten up your face.
- Olive Skin: Bronzed shades, deep peaches, and warm mauves are ideal. These tones complement the green undertones in olive skin and add a natural glow.
- Dark Skin: Bold colors like deep reds, plums, and vibrant oranges look stunning. These shades stand out beautifully against darker skin tones without looking ashy.
Tips for Choosing Blush:
- Consider Your Undertone: Identify whether you have a cool, warm, or neutral undertone. Cool undertones pair well with pinks and berries, while warm undertones suit peaches and corals.
- Test Before Buying: Swatch the blush on your cheekbones or the inside of your wrist. Natural light gives the best indication of how the color will appear on your skin.
Applying Bronzer
Bronzer can be a game-changer when it comes to adding warmth and definition to your face. Here’s a step-by-step guide to applying bronzer for a natural, sun-kissed look.
- Choose the Right Shade: Pick a bronzer that is one or two shades darker than your natural skin tone. Avoid shades that are too orange or too dark, as they can look unnatural.
- Use the Right Brush: A large, fluffy brush with a rounded head is perfect for bronzer application. It distributes the product evenly and blends it seamlessly into your skin.
How to Apply Bronzer:
- Start with the “3” Technique: Imagine drawing a “3” on each side of your face. Begin at your forehead, swoop down to your cheekbones, and then slide down to your jawline.
- Blend Well: Use circular motions to blend the bronzer into your skin. Focus on areas where the sun naturally hits your face—forehead, cheeks, and jawline.
- Contour Lightly: For added definition, apply a small amount of bronzer along the sides of your nose and under your cheekbones. Blend well to avoid harsh lines.
- Set with Powder: To ensure your bronzer stays put, lightly dust your face with a translucent setting powder. This helps lock the bronzer in place and provides a smooth finish.
By selecting the right blush and bronzer and applying them correctly, you’ll add a healthy, radiant glow to your cheeks. These products help to bring warmth and dimension to your face, making your makeup look more natural and vibrant.
Perfecting Your Lips
Transforming your look can be as simple as perfecting your lips. A great lip look starts with proper prep and ends with the perfect pout. Let’s break down the steps to make your lips flawless.
Prepping Your Lips
 Photo by Monstera Production
Before applying any lip color, it’s crucial to prep your lips. Think of it as laying the groundwork for a masterpiece.
- Exfoliate: Exfoliating removes dead skin cells, leaving your lips smooth and ready for color. You can use a store-bought lip scrub or make one at home using sugar and honey.
- Moisturize: After exfoliating, apply a hydrating lip balm. This keeps your lips soft and supple, creating a perfect base for your lipstick.
Prepping your lips helps the color apply more evenly and last longer. Plus, it prevents your lips from looking chapped or flaky.
Applying Lip Liner
Lip liner is a game-changer when it comes to defining and shaping your lips. It prevents lipstick from bleeding and helps your color stay put.
- Pick the Right Shade: Choose a lip liner that matches your lipstick or is a shade darker. This creates a natural, cohesive look.
- Outline Your Lips: Start at the Cupid’s bow— the top center of your lips— and then move to the outer corners. Use short, light strokes for more precision.
- Fill in Your Lips: For longer-lasting color, fill in your entire lips with the liner. This acts as a base for your lipstick.
Choosing and Applying Lipstick
Selecting the right lipstick and applying it correctly can elevate your whole look.
- Choose the Right Shade: Pick a shade that complements your skin tone. If you have cool undertones, go for colors like pinks, purples, and reds with blue undertones. For warm undertones, opt for corals, oranges, and reds with yellow or orange undertones.
- Apply Lipstick:
- Start in the Center: Apply the lipstick to the center of your lips and then move outward. This ensures you get even coverage.
- Use a Brush: For more precision, use a lip brush. It helps you get into the corners and along the edges.
- Blot and Layer: After the first coat, blot your lips with a tissue and apply a second coat. This makes the color last longer.
- Use a Lip Brush: For perfect edges, use a lip brush to apply the lipstick, especially near the lip line.
By following these simple steps, you can perfect your lips and transform your look. Whether you’re going for a bold red or a natural nude, the right technique makes all the difference. So go ahead, pout away and let your lips take the spotlight.
Conclusion
Trying out these makeup tips can truly transform your look. From prepping your skin to perfecting your lips, each step plays a vital role. These easy techniques can elevate your everyday routine and boost your confidence.
Give them a shot and feel the difference. You’ll not only see a change in your appearance but also in how you carry yourself. So, why wait? Start experimenting with these tips today and bring out the best version of yourself. Your new, confident look is just a few steps away.

