

We’ve all been there—facing an unexpected bad hair day right before an important event or just as you’re heading out the door. Whether it’s a last-minute styling mishap, color gone wrong, or a frizz explosion, these moments can throw anyone off. The good news? You don’t always need a trip to the salon to fix it. With the right tips and tricks, you can tackle these common hair disasters from home quickly and effectively. Stick around to learn simple solutions that’ll have your hair back on track in no time.
Cracked or Dry Hair
Dry, brittle hair can quickly become a frustrating beauty challenge. Whether it’s caused by frequent heat styling, exposure to chemicals, or simply a lack of hydration, dry hair often needs immediate care. The good news is, you don’t need to rush to the salon to restore moisture and shine. Here are a few simple, effective solutions to rejuvenate your hair right at home.
Use Deep Conditioning Masks
Deep conditioning masks are like a drink of water for your hair—they’re packed with ingredients that penetrate your strands and infuse them with moisture. You can make your own at home using items you might already have in your pantry. Coconut oil, for example, is a natural powerhouse. Its fatty acids help restore lost moisture and reduce protein loss in your hair. Similarly, mashed avocado mixed with a bit of olive oil creates a high-nutrient mask rich in vitamins and antioxidants.
If DIY isn’t your thing, store-bought deep conditioners can work wonders too. Look for ones with hydrating ingredients like shea butter, keratin, or hyaluronic acid. Use a mask once or twice a week, depending on how dry your hair feels, to keep dryness at bay.
 Photo by Daria Obymaha
Try Hot Oil Treatments
Hot oil treatments are the ultimate fix for thirsty hair. They lock in moisture and repair damaged strands, leaving hair soft and supple. All you need is a little olive oil, coconut oil, or argan oil—these are rich in essential nutrients and fatty acids.
Warm a small amount of your chosen oil (but not too hot—lukewarm is perfect). Gently massage it into your scalp, and work it down through the lengths of your hair. Cover your hair with a shower cap or a warm towel to let the oil absorb effectively. Rinse it out after 30 minutes with a sulfate-free shampoo for best results.
Avoid Heat Styling
If your hair is already dry or cracked, adding heat tools into the mix is like throwing gasoline on a fire. Tools like blow dryers, flat irons, and curling wands suck out what little moisture your hair has left, leaving it prone to further breakage. Give your hair a break from styling and let it air-dry naturally whenever possible.
If you must use heat, apply a heat protectant spray first. These sprays act as a barrier and reduce damage by shielding your hair from high temperatures. Switching to tools with adjustable temperature settings can also help you minimize heat exposure.
No matter the cause of your dry or cracked hair—whether it’s over-styling, environmental stressors, or not enough TLC—a few changes to your routine can make a huge difference. Stay consistent with these tips, and your hair will start to feel like itself again in no time.
Frizzy Hair After a Rainstorm
Rainy days can be your hair’s worst enemy, leaving you with unexpected frizz that seems to have a life of its own. But before you reach for a hat or resign yourself to a bad hair day, there are simple solutions to tame the chaos and reclaim your style. A combination of strategic products, tools, and techniques can help bring frizz under control even after being caught in wet weather.
Apply Anti-Frizz Serums
One of the quickest ways to manage frizz after a rainstorm is by applying an anti-frizz serum or leave-in treatment. These are designed to coat your strands, seal the cuticle, and lock out excess moisture. Products like Moroccan Oil Treatment or Color Wow Dream Coat are popular for adding that sleek, frizz-free finish.
Prefer a DIY route? Natural remedies like aloe vera gel can do wonders. Apply a small amount of fresh aloe gel to damp or lightly towel-dried hair to smooth out stubborn strands. Its lightweight texture and hydrating properties make it an excellent option for tackling frizz without weighing your hair down. Always focus on working the serum or gel into the mid-lengths and ends — this ensures you avoid greasiness at the roots.
Use a Microfiber Towel
Did you know your regular bath towel could be making your frizz worse? The rough fibers on traditional towels increase friction, which can lift the hair cuticle and create more frizz. Instead, swap it out for a microfiber towel or even a soft cotton T-shirt. These gentle alternatives absorb water effectively without causing additional damage.
When drying your hair, avoid vigorous rubbing. Instead, gently squeeze or blot your hair. This simple tweak can make a huge difference in how your hair behaves once it’s fully dried. For those with curls or waves, scrunching upwards with a microfiber towel can also help enhance natural texture while reducing frizz.
 Photo by RDNE Stock project
Quick Fix for Humidity Issues
Humidity is often the main culprit behind frizz, especially after a rainstorm. The key to combating it lies in using humidity-resistant products designed specifically for this problem. Anti-humidity sprays like Living Proof No Frizz Humidity Shield act as a barrier, helping your hair resist moisture in the air. Simply spritz it over dry hair for quick protection.
In a pinch? Opt for protective hairstyles to keep frizz at bay while out in the elements. Styles like braids, low buns, or even a sleek ponytail not only reduce exposure to humidity but also keep your hair manageable. If you’re on the go, carrying a mini anti-frizz sheet (yes, they exist!) can provide an instant touch-up for flyaways.
Rain doesn’t need to dictate your hair’s mood. With the right techniques and products, you can bounce back from even the worst frizz-inducing storm.
At-Home Hair Dye Mistakes
Dyeing your hair at home can save money and time, but it doesn’t always go as planned. From colors turning out too dark to brassy tones wreaking havoc on your look, mishaps can leave you scrambling for a fix. Luckily, you don’t have to live with the consequences. Here are straightforward solutions to tackle common at-home hair dye mistakes.
Use Clarifying Shampoo
If your hair color turned out darker than expected, a clarifying shampoo can help tone it down. These shampoos are formulated to remove excess buildup on your hair, including leftover dye from a fresh coloring session. Think of it as a reset button for your strands.
To use, simply replace your regular shampoo with a clarifying one during your next few washes. Work it through your hair thoroughly, focusing on the areas that need lightening, and rinse with warm water. While it might take a couple of washes to see significant results, frequent use can gradually strip away the excess color. Be sure to follow up with a moisturizing conditioner, as clarifying shampoos can dry out your hair.
 Photo by Nataliya Vaitkevich
Neutralize Brassiness with Purple Shampoo
No one wants their hair to lean orange or yellow unless that’s the look you were going for. Brassy tones often emerge after bleaching or lightening hair and can be frustrating. Enter purple shampoo—a staple product for neutralizing these unwanted hues.
Why purple? It’s the opposite of yellow on the color wheel, meaning it cancels out yellow and orange tones. Use it like your regular shampoo, but don’t overdo it—applying it 1-2 times a week is usually enough. Massage it into your hair, let it sit for a few minutes (check the product instructions for exact timing), and rinse thoroughly. If you’re dealing with extreme brassiness, you might want to leave the shampoo in a bit longer, but don’t exceed 10 minutes to avoid violet staining.
DIY Color Correction
For less-than-perfect results, sometimes you need a temporary fix to hold you over until the next dye session. A few DIY methods can work wonders:
- Toned Dry Shampoos: These come in a variety of colors and can help blend uneven spots or roots. If you’ve got streaky or patchy hair, just spray one matching your base color onto the problem area.
- Color Remover Kits: Designed specifically to correct at-home dye mishaps, these kits can help erase artificial color or clean the slate for a new application. Make sure to follow all instructions carefully to minimize damage.
- Temporary Color Glosses: These are great for neutralizing unwanted tones while adding shine. They typically last a few washes and are easy to apply right at home.
For serious color issues that can’t be fixed with these methods, a professional consultation might be your best option, but these quick tricks can definitely hold you over.
Tangled and Matted Hair
Tangled and matted hair can feel impossible to fix, but with the right tools and techniques, it’s manageable—even at home. The key is to be patient and gentle to avoid unnecessary breakage. Here’s how you can tackle even the toughest tangles stress-free.
Use a Detangling Spray
Start with a detangling spray to make the process smoother and less painful. These sprays are formulated to reduce friction between hair strands, making knots easier to work through.
- Begin by sectioning your hair into small, manageable sections. Working one section at a time ensures you won’t miss any tangled spots.
- Hold the spray about 6-8 inches away, misting each section lightly but evenly. Avoid drenching your hair.
- After applying the spray, use a wide-tooth comb to gently comb through the hair, starting with the ends and moving upward. This helps avoid tugging or breaking your strands.
- For stubborn knots, try using your fingers first to loosen them before combing.
Look for detangling sprays with nourishing ingredients like coconut oil or provitamin B5—they add extra hydration while you detangle.
 Photo by Ketut Subiyanto
Start from the Ends
If you’ve ever tried ripping through a tangle from the roots, you know it’s a recipe for frustration—and split ends. The best method? Always work from the ends up to the roots.
- Hold the section of hair you’re working on to prevent pulling at the scalp.
- Begin detangling about an inch above the ends, moving the comb downward in short, light strokes.
- As the lower part becomes detangled, work your way up in increments until you reach the roots.
This approach minimizes damage, especially for those with fragile or chemically-treated hair. It also reduces the risk of turning small tangles into larger, unmanageable clumps.
Try a Conditioning Detangler
When tangles are severe, opt for a leave-in conditioner or a conditioning detangler. These products coat your hair with extra “slip,” making it easier to glide through knots without resistance.
- After washing your hair, towel dry gently with a microfiber towel to remove excess water.
- Apply a generous amount of leave-in conditioner to damp hair. Focus on the mid-lengths and ends, where tangles are most common.
- Let the product sit for a few minutes to fully absorb. This softens the hair, making detangling much easier.
- Use a wide-tooth comb or a detangle-friendly brush to gently work through knots.
Conditioning detanglers can also be left in as a styling product, giving you an added layer of moisture and protection throughout the day. Choose products with hydrating ingredients like castor oil, jojoba oil, or hydrolyzed rice protein for maximum benefits.
Skipping these steps often leads to unnecessary damage, so take your time and show your hair some love.
Hair Breakage and Split Ends
Hair breakage and split ends are like uninvited guests—they arrive unannounced and wreak havoc on your hairstyle. Breakage usually occurs when the strands weaken and snap, while split ends happen when the hair fiber frays at the tips. But the good news? You don’t have to settle for constant damage. There are easy ways to prevent and address these problems right at home with minimal effort.
Trim the Ends
Even if you’re not a professional hairstylist, a small trim can save your strands from further damage. Split ends don’t heal themselves—in fact, leaving them unchecked may cause splits to travel up the hair shaft, leading to more extensive breakage. Regularly trimming the ends (every 6-8 weeks) removes the damaged portions and keeps your hair looking fresh and healthy.
For an at-home fix, invest in sharp hair-cutting scissors. Regular household scissors can fray the cuticle, making the problem worse. Cut only a tiny amount—just enough to snip off the damaged ends. For extra precision, twist small sections of hair so that the split ends stick out, then trim them carefully.
Apply Keratin Treatments
Looking to strengthen your strands? Keratin treatments can work wonders against breakage and prevent new split ends from forming. Often available in DIY kits, keratin treatments fill in the tiny gaps in your hair’s structure caused by wear and tear. This helps smooth out frizz and reinforce your strands, making them less prone to breaking.
You can also whip up a DIY protein treatment at home using common ingredients. For example, mix one egg yolk, a tablespoon of coconut oil, and a tablespoon of honey. Apply it to clean, damp hair and leave it on for 20 minutes before rinsing thoroughly. These treatments work like a bandage for your hair, keeping it strong and hydrated.
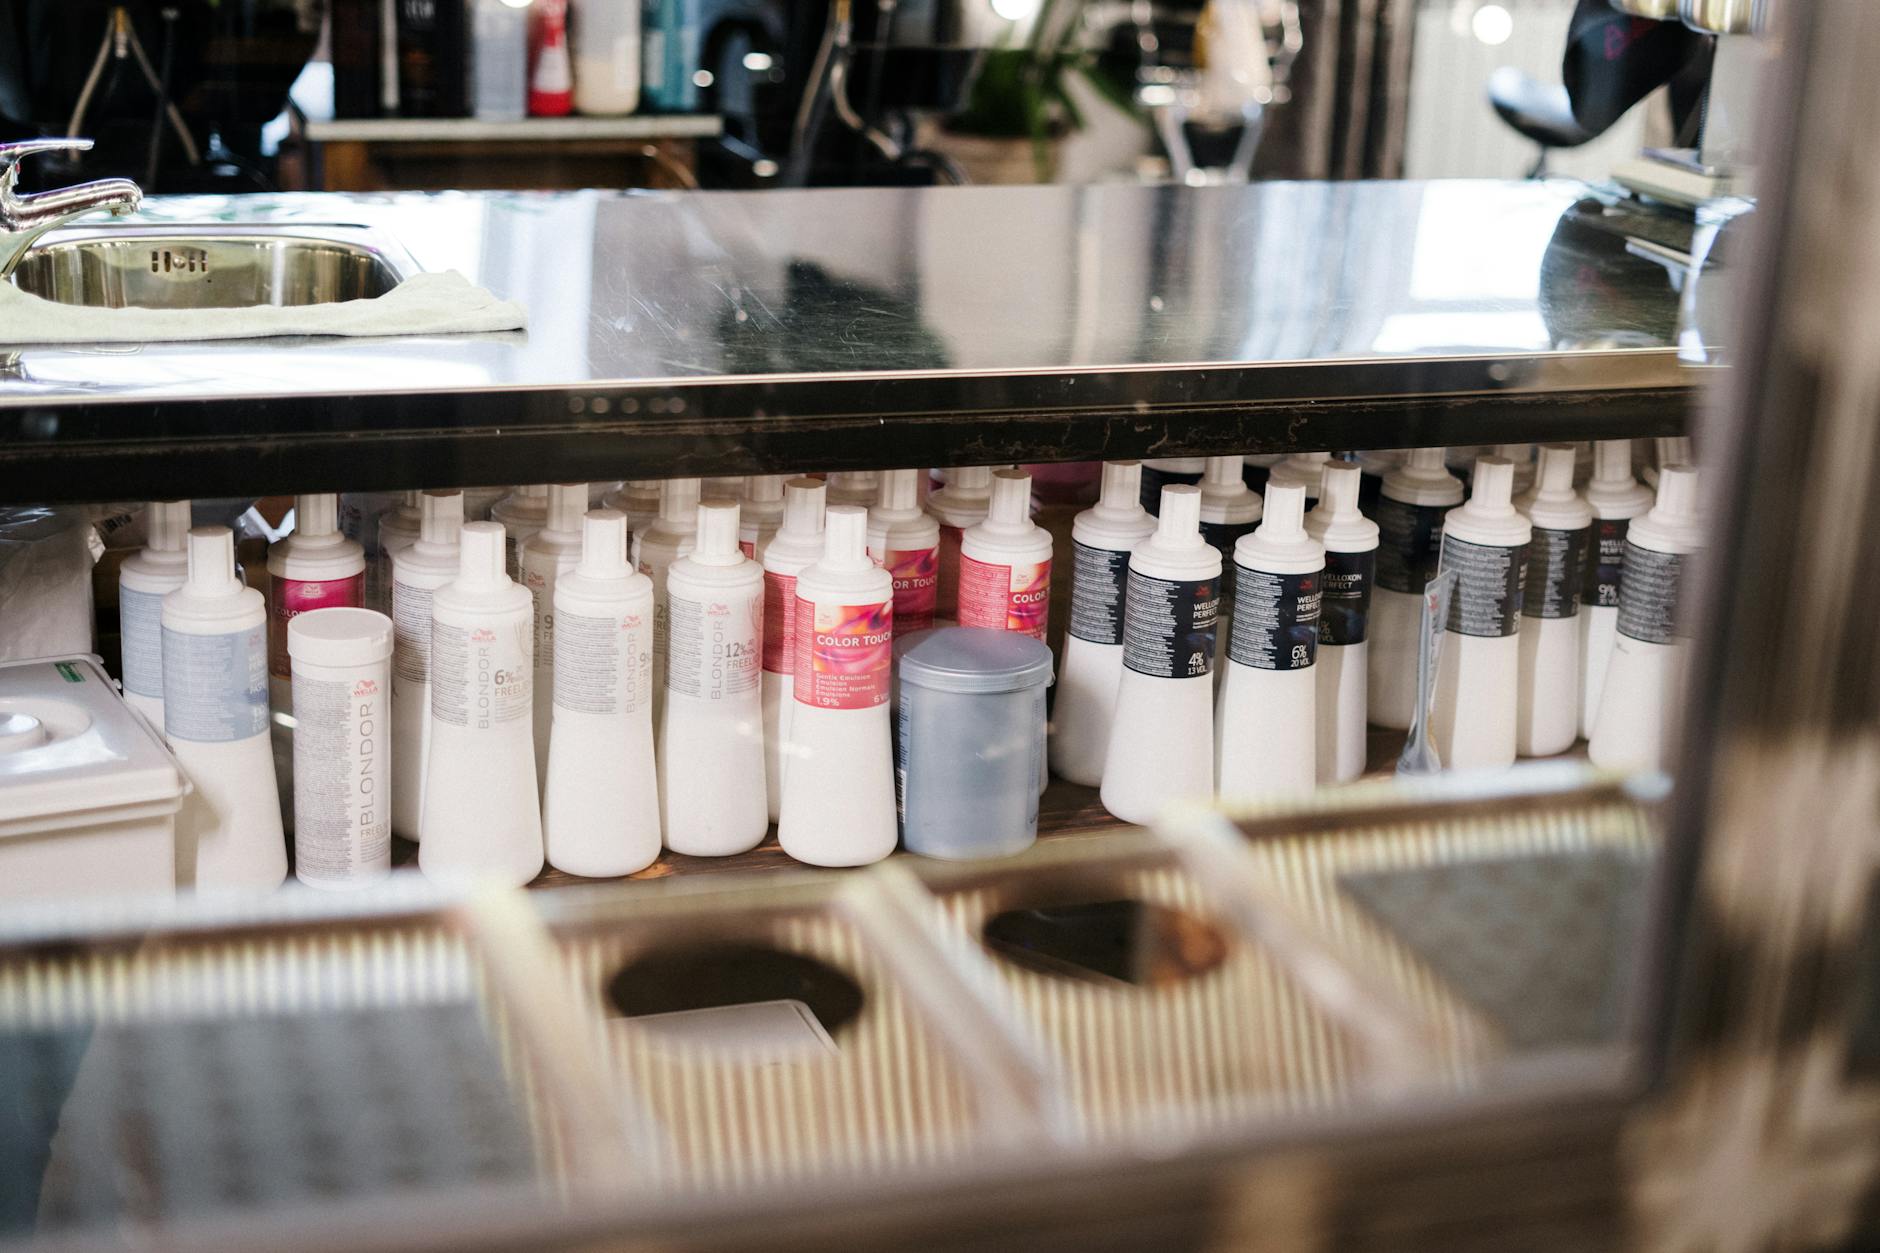 Photo by cottonbro studio
Minimize Mechanical Damage
Mechanical damage—caused by brushing, styling, or even sleeping—often flies under the radar but contributes significantly to hair breakage. Anyone who’s ever yanked a brush through tangles can attest to how brutal it can be on your hair. The solution? Handle your hair with care.
- Use a wide-tooth comb instead of a brush to detangle, starting from the ends and working your way up to the roots. This is especially important when your hair is wet, as it’s at its weakest then.
- Switch out your cotton pillowcase for a silk or satin one. These materials reduce friction as you toss and turn at night, preventing breakage and keeping your hair cuticles smooth.
- Avoid tight hairstyles like ponytails or buns that add unnecessary stress on your strands. Gentle styles like loose braids are a great alternative that won’t sacrifice your comfort or look.
By adopting these habits, you can easily protect your hair and maintain its health over the long haul. Small changes can make a big difference when it comes to avoiding breakage!
Oily Roots and Greasy Hair
Dealing with oily roots and greasy hair can feel like an uphill battle, especially when the slickness returns just hours after washing. Thankfully, this common issue has quick and effective solutions that don’t involve an emergency salon trip.
Use Dry Shampoo
Dry shampoo is your ultimate ally when battling greasy hair. It works by absorbing excess oil from your scalp, instantly refreshing your locks and giving them a clean look without water.
To apply, hold the spray (or powder, depending on the product) about 8-10 inches away from your roots. Section your hair to target particularly oily areas and spray lightly. Let it sit for a minute to absorb the oils, then gently brush or massage it through your hair to distribute the product evenly.
Not only does dry shampoo fix greasy roots fast, but it also adds texture and volume—a bonus for limp, oily hair. However, avoid overdoing it. Too much can lead to product buildup, which might make your scalp feel grimy over time. Stick to occasional use between washes for the best results.
DIY Remedies for Oily Scalp
Looking for something more natural? DIY remedies can help restore balance to an overactive scalp. One of the easiest options is an apple cider vinegar rinse. It works by balancing your scalp’s pH level, which can reduce excessive oil production.
Here’s a simple method:
- Mix 2 tablespoons of apple cider vinegar with 1 cup of water.
- After shampooing, pour the mixture over your scalp as a rinse.
- Let it sit for a minute or two, then rinse thoroughly with cool water.
Another option is green tea. Brew a strong cup, let it cool, and use it as a rinse. Its natural tannins help reduce oil production, leaving your hair feeling fresher.
For an extra boost, consider a weekly scalp mask using bentonite clay. Mix the clay with water to form a paste, apply it to your scalp, leave it on for 10-15 minutes, then rinse. This treatment absorbs oil and detoxifies your scalp, helping you maintain a grease-free appearance.
Wash with Clarifying Shampoo
Sometimes, greasy hair may be the result of product buildup rather than an overly oily scalp. That’s where clarifying shampoo comes into play. These shampoos are designed to remove stubborn residues from styling products, oils, and dirt, leaving your scalp and hair feeling squeaky clean.
Incorporate a clarifying shampoo into your routine once a week, or bi-weekly if your hair is on the drier side. Overuse can strip your scalp of natural oils, potentially triggering even more oil production to compensate. When using a clarifying shampoo, always follow up with a lightweight conditioner on your ends to keep your hair nourished while avoiding additional grease.
Opt for sulfate-free options if you have sensitive skin or color-treated hair, as traditional clarifying shampoos can be more drying. Proper product use will leave your locks light, refreshed, and ready to take on the day.
Finding the right quick fixes for oily roots can transform your hair care routine. With a mix of the right products and a few homemade treatments, tackling greasy hair no longer has to be a stressful process.
Conclusion
Hair disasters don’t have to be a source of panic anymore. With the right knowledge and tools, fixing common issues like dryness, frizz, or color mishaps can be quick and effective, even from home.
The methods shared above are simple yet powerful—you just need to stay prepared. Keeping a few essentials like deep conditioners, detangling sprays, and dry shampoo on hand can save you in a pinch.
If you’ve faced a similar hair challenge or found a go-to remedy that works wonders, share it in the comments. Your tips could help someone else win their next hair battle!
Remember, it’s all about acting fast and being consistent with care. Healthy, happy hair is within reach.